by Paul Siegel
A lot of schools with lab environments that are often composed of donated outdated equipment have had their IT staff busy over the past few years trying to extend equipment life and squeeze blood out of lemons. We've read various success stories about Linux deployments to help make older systems skate a few more miles before they're put out to pasture. The real problem with Linux for most is being able to manage the systems' deployments remotely and efficiently, and making that management simple enough that it doesn't require an onsite developer to keep the fleet afloat. A suggestion to be explored for me surely would be Linux Terminal Services Project (LTSP). Using LTSP we could PXE boot a lab of 24 computers from one imaged master computer and then remotely manage from 1 machine. Any software updates , patchings , or image changes could be done to one computer in a lab and take an effect immediately on the others pending a restart.
Building Images and Deployment

For this demo I'm going to use OpenSUSE 12.1 for multiple reasons. I personally believe that using their WebYAST package manager to administrate the server remotely is ideal for this environment. OpenSUSE LiFE (Linux for Education) has LTSP tools built into the distribution with lots of documentation for beginners, and finally it will show workings similar to SUSE Linux Enterprise Desktop. Also, since most of the schools I've encountered are Novell shops already, it makes sense to stay with the support vendor from which you're already buying other products. Plenty of Linux distributions offer support and documentation for LTSP most notably Edubuntu. Please use whatever distribution you are most comfortable with in production. This demo will be displayed using only the open-source tools.
Step 1.
Install openSUSE on what will be your Master computer in your lab deployment. Stock SUSE is available from http://software.opensuse.org
OpenSUSE LiFE is available from http://en.opensuse.org/openSUSE:Education-Li-f-e
OpenSUSE LiFE is available from http://en.opensuse.org/openSUSE:Education-Li-f-e
Install and configure the software you will require for your environment just like you would for any other linux lab deployment. in SUSE this is accomplished through the YAST package manger. Also set up your user authentication. It will support local users , ldap, or windows domain. You will need at least 1 login available per terminal.
Step 2.
Install Kiwi-LTSP on your master computer. It is available from http://en.opensuse.org/Portal:KIWI-LTSP as a 1-click install that will auto-launch YAST, set up the repository, and complete the install for you. If you are running Opensuse LiFE this is already done for you.
Step 3.
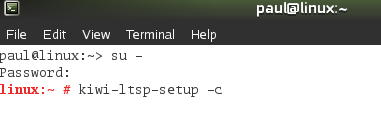
Once you are ready to deploy your image to your client computers, Open the Gnome terminal.
Type su -
You will be prompted to enter the root password.
This will switch to the superuser and allow you to start the PXE service.
Type kiwi-ltsp-setup -p
This will check to verify we have all the perquisites installed for kiwi-LTSP. If any are missing it will locate them from your installed repositories and automatically install them for you.
Type kiwi-ltsp-setup -c
This is referred to as the 'configure everything' script. It will generate your boot images as well as set up your PXE/TFTP services based your network configuration.
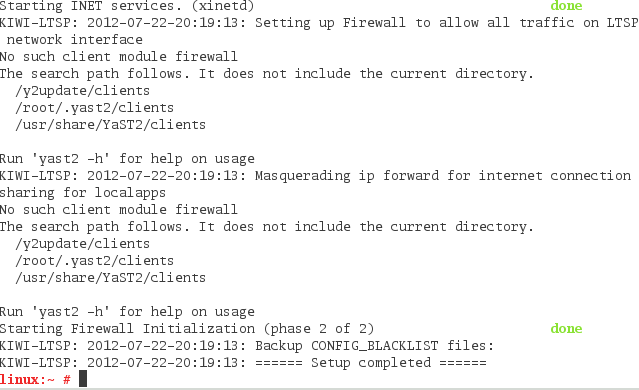
After pressing enter the script will execute. You will know it has succeeded when the ======Setup Completed====== is displayed.
Step 4.
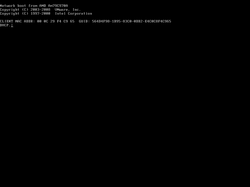
Now we start our client machines and set them to PXE boot. They should then automatically receive the boot image from the LTSP master computer. It will boot through a GRUB menu and arrive at the kiwi-LTSP login screen.
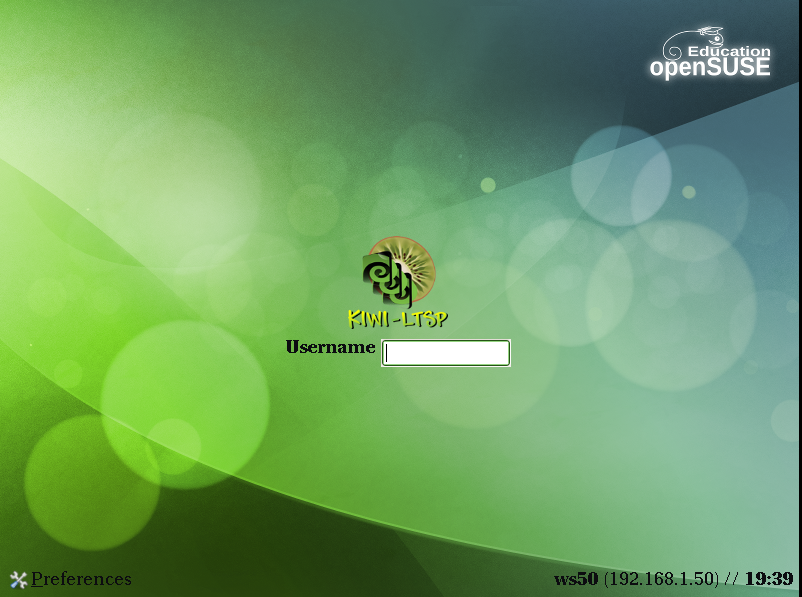
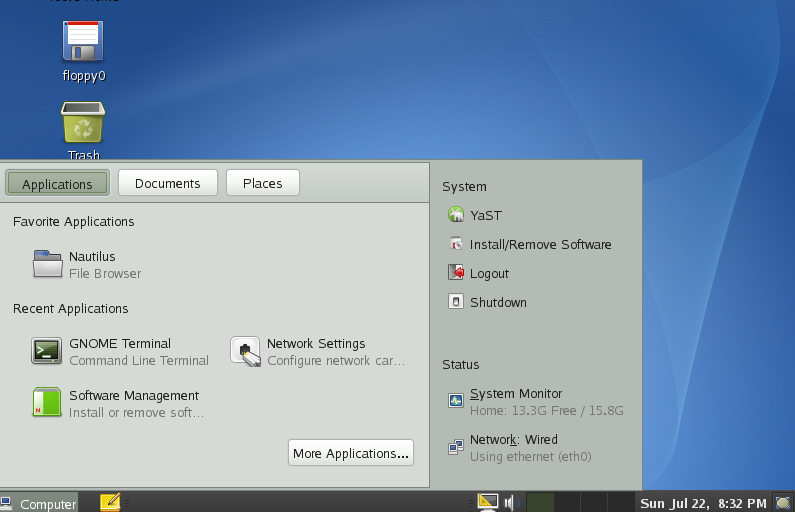
Login with a user account that you already created in the master computer. You will see the Computer image you built fully setup and deployed to the workstation with excellent performance. The client computer image is running completely in RAM and will be reset back to the same state as the master as soon as the student logs off.
Recap

There you have it. A fully deployed computer lab of linux machines functioning when you have only touched one physical machine in the computer lab. Now, since this is a SUSE machine we can handle patching , software changes, and user accounts remotely using webYAST (pictured left) or over SSH via traditional yast. Some additional configuration will be needed to enable webYAST, and that documentation can be found here: http://en.opensuse.org/Portal:WebYaST
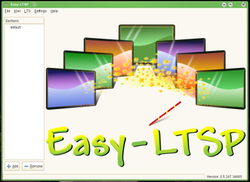
Splash screens for GRUB as well other custom PXE options can be created by running the command easy-ltsp on the master computer. Easy-LTSP is a GUI program used to help you manually edit LTSP configuration files for customization.
Splash screens for GRUB as well other custom PXE options can be created by running the command easy-ltsp on the master computer. Easy-LTSP is a GUI program used to help you manually edit LTSP configuration files for customization.
Different versions of kiwi-LTSP and easy-LTSP have different network requirements. This demo was created using version 0.5.247.18974. For additional information on network configuration check out the documentation at : http://en.opensuse.org/SDB:LTSP_quick_start_12.1_Edu#Configure_Network
A Preconfigured virtual appliance can be downloaded from Suse Gallery at:
http://susestudio.com/a/wc0u6V/gianni-s-ltsp-server
A Preconfigured virtual appliance can be downloaded from Suse Gallery at:
http://susestudio.com/a/wc0u6V/gianni-s-ltsp-server
 RSS Feed
